The 10-Minute Natural Makeup Look for School
A soft, natural makeup look you can do in 10 minutes before school: the five products you need, the steps in order, and the habits that keep your skin clear.


In this guide
A natural makeup look is supposed to look like you, just a little more awake. No heavy foundation, no sharp contour, nothing that melts off by third period. Done right, people notice you look good without being able to say why. It’s also the base of the clean girl aesthetic.
Here’s a 10-minute routine with five products, in the order that works.
What you need
| Product | What it does | Swap if you don’t have it |
|---|---|---|
| Tinted moisturizer or skin tint | Evens out your skin without looking like makeup | Just moisturizer plus concealer |
| Concealer | Covers a spot or dark circles | Skip it if you don’t need it |
| Cream blush | Gives you color, like you just came in from outside | A tinted lip balm dabbed on cheeks |
| Brow gel | Makes your face look finished | Clear lip balm on a spoolie |
| Mascara | Opens up your eyes | An eyelash curler on its own |
Plus a tinted lip balm. That’s it. If you’re starting from zero, read our makeup for beginners guide first.
The 10-minute routine
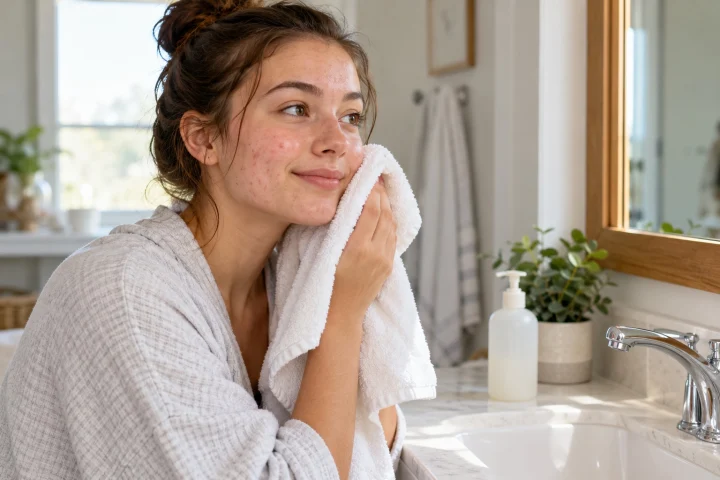
Step 1: Start with clean, moisturized skin (2 minutes)
Wash your face, put on moisturizer and sunscreen, and give it a minute to sink in. Makeup on dry, flaky skin looks patchy. Makeup on clean, moisturized skin looks like skin.
Step 2: Even out with a tint (2 minutes)
Dot a small amount of tinted moisturizer on your forehead, cheeks, nose and chin, then blend it out with a brush or sponge. You want sheer coverage: freckles and some texture should still show. That’s what makes it look natural.
Step 3: Conceal only where you need it (1 minute)
Dab concealer on a spot or under your eyes and pat the edges until they disappear. Don’t paint it everywhere. Less product means it lasts longer and looks more real.
Step 4: Cream blush (1 minute)
Smile, dab a little blush on the round part of your cheeks, and blend it up toward your temples. Start with less than you think. You can always add more.
Step 5: Brows (1 minute)
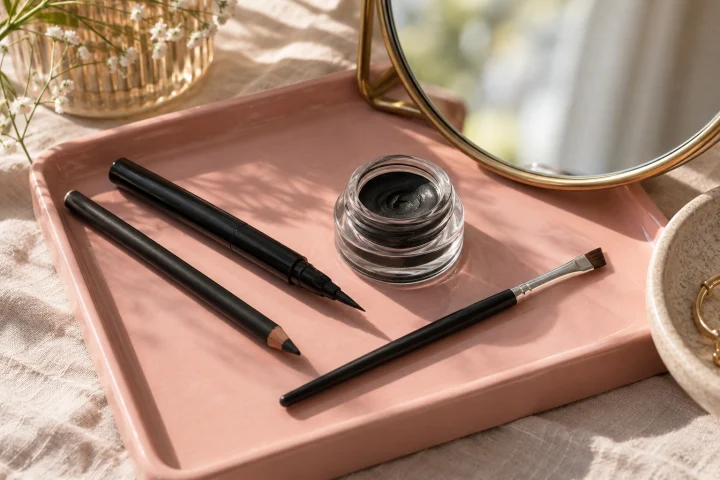
Brush your brows up and out with brow gel. If there are gaps, fill them with tiny hair-like strokes of a pencil close to your hair color, not a solid line.
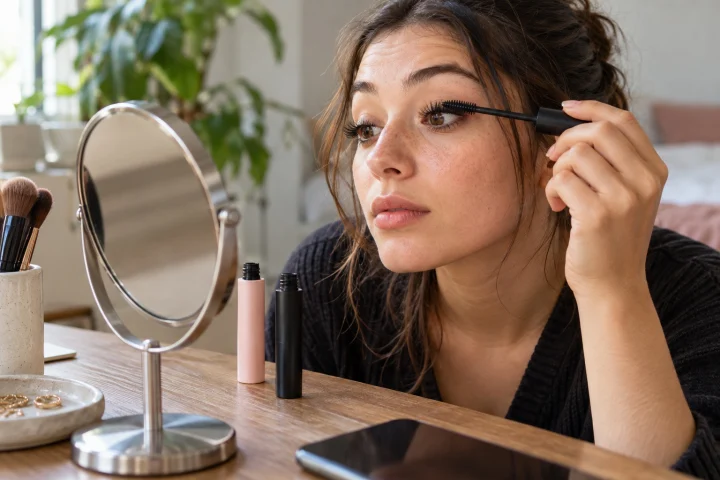
Step 6: Mascara (2 minutes)
Curl your lashes if you have a curler, then wiggle the mascara wand at the roots and pull it up. One coat looks natural. Two coats looks more done.
Step 7: Lips (1 minute)
Tinted lip balm or a sheer gloss. Done.
Keep your skin happy
Makeup shouldn’t cause breakouts. The American Academy of Dermatology recommends:
- Pick products labeled “oil-free,” “won’t clog pores” or “non-comedogenic.”
- Apply gently with brushes. Your touch should be light, not rubbing.
- Clean your brushes every week and don’t let anyone else use them.
- Don’t share makeup. Bacteria, dead skin cells and oil from other people’s skin can stick to it and cause breakouts.
- Take it all off before bed, including eye makeup.
Want to know which textures suit your skin? Take the skin type quiz, and see our skincare routine for teens for the basics underneath.
Common mistakes
- Sheer layers you build up slowly
- Blending edges until you can’t see them
- Shades that match your neck, not your hand
- Checking in daylight before you leave
- Thick foundation to cover everything
- Dark, sharp brows drawn in a solid line
- Powder on dry skin
- Sleeping in it